As a seasoned valve actuator supplier, I've witnessed firsthand the pivotal role these devices play in diverse industrial operations. Valve actuators are essential components that automate the opening and closing of valves, ensuring precise control of fluid flow in various systems. In this blog, I'll guide you through the process of installing a valve actuator, sharing insights and best practices to help you achieve a successful installation.
Understanding Valve Actuators
Before diving into the installation process, it's crucial to understand the different types of valve actuators available. The two most common types are Pneumatic Actuators and Electric Actuators.
Pneumatic actuators use compressed air to generate the force needed to operate the valve. They are known for their high speed, reliability, and ability to provide large amounts of torque. Pneumatic actuators are commonly used in applications where quick response times and high cycle rates are required, such as in the oil and gas, chemical, and food and beverage industries.
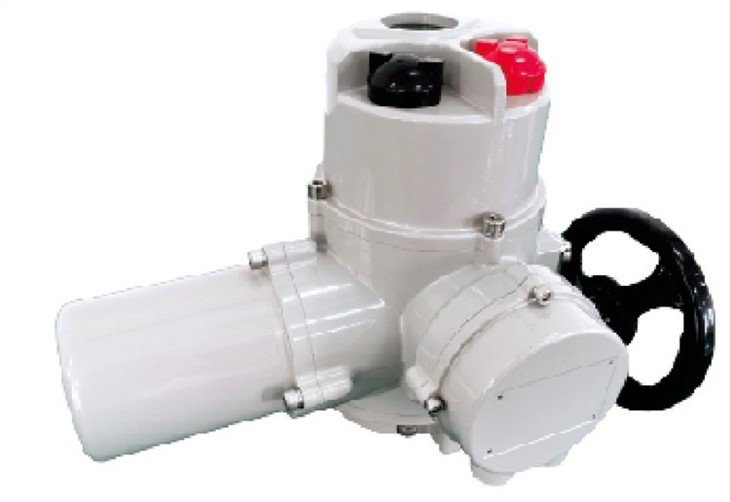
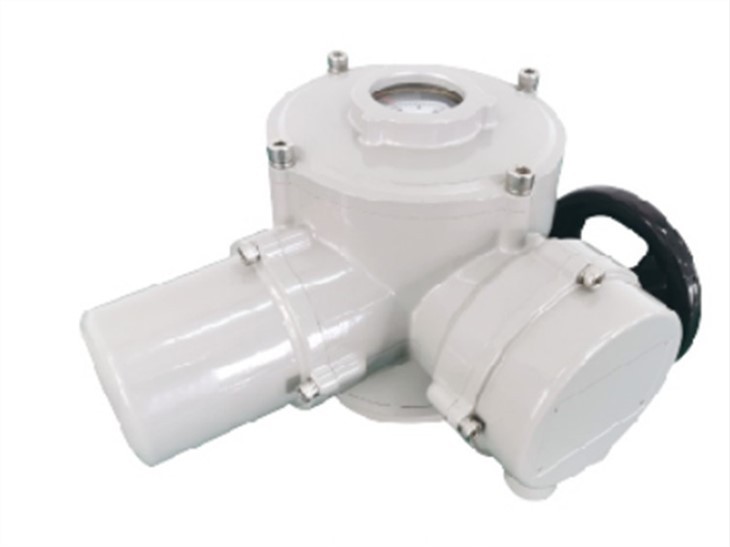
Electric actuators, on the other hand, use an electric motor to drive the valve. They offer precise control, easy integration with automation systems, and are suitable for applications where accurate positioning and speed control are essential. Electric actuators are commonly used in HVAC systems, water treatment plants, and manufacturing facilities.
Pre-Installation Preparation
Selecting the Right Actuator
The first step in installing a valve actuator is to select the right one for your application. Consider factors such as the type of valve, the required torque, the operating environment, and the control system compatibility. Our team of experts can assist you in choosing the most suitable actuator based on your specific requirements.
Gathering the Necessary Tools
Before starting the installation, gather all the necessary tools and equipment. This may include wrenches, screwdrivers, Allen keys, a torque wrench, a drill, and a level. Having the right tools on hand will make the installation process smoother and more efficient.
Reading the Manufacturer's Instructions
Carefully read the manufacturer's installation instructions that come with the valve actuator. These instructions provide detailed information on the installation process, including the recommended torque values, wiring diagrams, and safety precautions. Following the manufacturer's instructions is essential to ensure a proper and safe installation.
Inspecting the Valve and Actuator
Inspect the valve and actuator for any damage or defects before installation. Check the valve for proper alignment, smooth operation, and any signs of wear or corrosion. Inspect the actuator for any loose parts, damaged wiring, or leaks. If any issues are found, contact the manufacturer or your supplier for assistance.
Installation Steps
Mounting the Actuator
The first step in the installation process is to mount the actuator to the valve. Most valve actuators come with a mounting bracket or flange that allows for easy installation. Follow the manufacturer's instructions to align the actuator with the valve and secure it using the appropriate bolts or screws. Use a torque wrench to tighten the bolts to the recommended torque value to ensure a proper and secure connection.
Connecting the Actuator to the Valve
Once the actuator is mounted to the valve, the next step is to connect the actuator to the valve stem. This may involve using a coupling or a linkage to transfer the motion from the actuator to the valve. Follow the manufacturer's instructions to ensure a proper connection. Make sure the connection is secure and that there is no play or looseness in the linkage.
Wiring the Actuator
If you are installing an electric actuator, the next step is to wire the actuator to the control system. This may involve connecting the power supply, the control signals, and any feedback devices. Follow the manufacturer's wiring diagram to ensure a proper connection. Use appropriate wire sizes and insulation to prevent electrical hazards. Make sure all connections are tight and that there are no exposed wires.
Testing the Actuator
After the actuator is installed and wired, it's important to test the actuator to ensure it is operating properly. This may involve manually operating the actuator using the control system or using a test switch. Check the actuator for proper movement, speed, and torque. Make any necessary adjustments to the control settings to ensure the actuator is operating within the desired parameters.
Calibrating the Actuator
Once the actuator is tested and operating properly, the next step is to calibrate the actuator. This may involve setting the position limits, the speed, and the torque of the actuator. Follow the manufacturer's instructions to calibrate the actuator. Use a position indicator or a feedback device to ensure the actuator is accurately positioned. Make any necessary adjustments to the calibration settings to ensure the actuator is operating accurately.
Post-Installation Checks
Checking for Leaks
After the installation is complete, check the valve and actuator for any leaks. This may involve inspecting the connections, the seals, and the gaskets. If any leaks are found, tighten the connections or replace the seals and gaskets as necessary.
Inspecting the Wiring
Inspect the wiring for any damage or loose connections. Make sure all connections are tight and that there are no exposed wires. If any issues are found, repair or replace the wiring as necessary.
Testing the Control System
Test the control system to ensure it is communicating properly with the actuator. This may involve sending commands to the actuator and checking the response. Make any necessary adjustments to the control settings to ensure the actuator is operating within the desired parameters.
Documenting the Installation
Document the installation process, including the date, the location, the type of actuator, and any modifications or adjustments made. This documentation will be useful for future maintenance and troubleshooting.
Conclusion
Installing a valve actuator requires careful planning, preparation, and attention to detail. By following the steps outlined in this blog and using the right tools and equipment, you can ensure a successful installation. If you have any questions or need assistance with the installation process, please don't hesitate to contact us. As a leading valve actuator supplier, we have the expertise and experience to help you choose the right actuator for your application and ensure a proper installation.
If you're interested in purchasing valve actuators for your projects, we're here to assist you. Our team of experts can provide you with detailed product information, competitive pricing, and personalized solutions tailored to your specific needs. Whether you require pneumatic actuators or electric actuators, we have a wide range of options to meet your requirements. Contact us today to start the procurement process and let us help you find the perfect valve actuators for your applications.
References
- Valve Actuator Installation Manuals from Leading Manufacturers
- Industrial Automation and Control Textbooks
- Technical Papers on Valve Actuator Technology and Applications