As a supplier of Globe Valves, I often encounter customers who are interested in learning how to replace a globe valve seat. This process is crucial for maintaining the functionality and longevity of the valve. In this blog, I'll provide a detailed guide on how to replace a globe valve seat, ensuring that you can carry out this task safely and effectively.
Understanding the Globe Valve Seat
Before diving into the replacement process, it's essential to understand the role of the globe valve seat. The seat is a critical component of the globe valve, which is designed to control the flow of fluid through a pipeline. It forms a seal against the valve disc, preventing leakage when the valve is closed. Over time, the seat can wear out due to factors such as corrosion, erosion, and high - pressure flow, which may lead to valve failure.
Tools and Materials Required
To replace a globe valve seat, you'll need the following tools and materials:
- Wrenches: A set of adjustable wrenches or socket wrenches to remove and install the valve components.
- Seat cutter or grinder: This is used to remove the old seat. There are different types available, such as manual and power - operated ones.
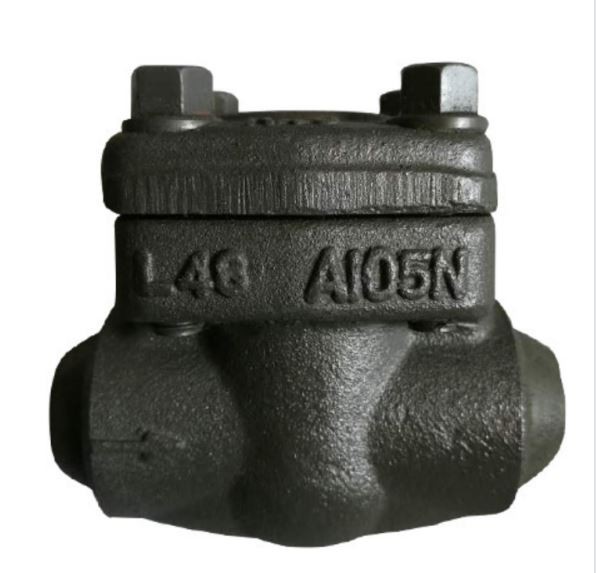
- New seat: Make sure to select a seat that is compatible with your globe valve. You can find high - quality seats in our Globe Valve product line.
- Gasket: A new gasket is required to ensure a proper seal between the valve body and the seat.
- Lubricant: This helps in the smooth installation of the new seat and other components.
- Safety equipment: Gloves, safety glasses, and a face shield to protect yourself during the process.
Step - by - Step Guide to Replace a Globe Valve Seat
Step 1: Preparation
- Shut off the flow: Before starting any work on the valve, ensure that the fluid flow in the pipeline is completely shut off. This can be done by closing the upstream and downstream isolation valves.
- Relieve pressure: Open the valve slightly to relieve any remaining pressure in the valve body. This is a crucial safety step to prevent any accidental release of high - pressure fluid.
- Drain the valve: If there is any fluid remaining in the valve, drain it completely to avoid spills during the replacement process.
Step 2: Disassemble the Valve
- Remove the bonnet: Use the appropriate wrenches to loosen and remove the bolts or nuts that hold the bonnet to the valve body. Carefully lift the bonnet off the valve body. Be cautious as there may be some residual fluid or debris inside.
- Take out the valve disc and stem: Once the bonnet is removed, you can access the valve disc and stem. Remove these components from the valve body. Keep them in a safe place as they will be reinstalled later.
Step 3: Remove the Old Seat
- Inspect the old seat: Check the old seat for signs of wear, damage, or corrosion. This will give you an idea of the condition of the valve and whether any other components need to be replaced.
- Use a seat cutter or grinder: If the seat is in a fixed position, you'll need to use a seat cutter or grinder to remove it. Follow the manufacturer's instructions for the proper use of the tool. Start by scoring the seat around its circumference and then gradually remove the material until the old seat is completely removed.
Step 4: Clean the Valve Body
- Remove debris: After removing the old seat, use a brush or a cloth to clean the valve body. Remove any debris, rust, or old gasket material from the seat area. Make sure the surface is smooth and free of any irregularities.
- Inspect for damage: While cleaning, check the valve body for any signs of damage, such as cracks or pits. If you find any significant damage, it may be necessary to replace the entire valve.
Step 5: Install the New Seat
- Apply lubricant: Apply a thin layer of lubricant to the new seat and the seat area in the valve body. This will make the installation process easier and help create a better seal.
- Insert the new seat: Carefully place the new seat into the valve body. Make sure it is properly aligned and seated evenly. Use a mallet or a seat installation tool to gently tap the seat into place until it is fully seated.
- Check the fit: Once the seat is installed, check its fit by measuring the height and alignment. It should be flush with the valve body and properly centered.
Step 6: Reassemble the Valve
- Reinstall the valve disc and stem: Place the valve disc and stem back into the valve body. Make sure they are properly aligned and seated.
- Install the bonnet: Carefully place the bonnet back on the valve body and align the bolt holes. Tighten the bolts or nuts evenly in a criss - cross pattern to ensure a proper seal. Do not overtighten as this may damage the valve or the gasket.
- Check the operation: Before fully closing the isolation valves and restoring the flow, manually operate the valve to ensure that it opens and closes smoothly.
Step 7: Test the Valve
- Restore the flow: Slowly open the upstream isolation valve to allow fluid to enter the valve. Check for any signs of leakage around the seat, bonnet, or other connections.
- Monitor the valve: Observe the valve's operation for a few minutes to ensure that it is functioning properly. Check the flow rate, pressure, and the sealing performance.
Common Challenges and Troubleshooting
- Seat not fitting properly: If the new seat does not fit correctly, double - check the compatibility with your valve. It may be necessary to measure the seat dimensions and compare them with the specifications of your valve.
- Leakage: If you notice leakage after the replacement, check the tightness of the bolts, the condition of the gasket, and the alignment of the seat. Tighten the bolts if necessary or replace the gasket.
- Difficulty in removing the old seat: If the old seat is stubborn and difficult to remove, you may need to use a more powerful seat cutter or apply heat to expand the metal slightly. However, be careful not to overheat the valve body.
Importance of Regular Maintenance
Replacing the globe valve seat is just one aspect of valve maintenance. Regular maintenance is essential to ensure the optimal performance of your valves. It can help prevent unexpected failures, reduce downtime, and extend the lifespan of the valve. As a Globe Valve supplier, we also offer a range of related products such as Forged check Valve and Gate Valve that can be used in conjunction with your globe valves for a more comprehensive fluid control system.
Conclusion
Replacing a globe valve seat is a task that requires careful preparation, the right tools, and proper technique. By following the steps outlined in this guide, you can successfully replace the seat and keep your globe valve in good working condition.
If you have any questions about globe valve seat replacement or are interested in purchasing high - quality globe valves and related products, please feel free to contact us for procurement and further discussion. We are committed to providing you with the best solutions for your fluid control needs.

References
- Valve Handbook, 4th Edition by J. R. Arnold
- Industrial Valves: Design and Application by E. W. Obert