Hey there! As a supplier of Oxygen Gate Valves, I often get asked about how to replace the packing of these valves. It's an important maintenance task that can ensure the proper functioning and safety of your oxygen system. So, let's dive right into it!
First off, why is packing replacement necessary? Well, over time, the packing in an oxygen gate valve can wear out due to factors like friction, temperature changes, and exposure to oxygen. When the packing deteriorates, it can lead to leaks, which are not only a waste of oxygen but can also pose a safety hazard. By replacing the packing regularly, you can prevent these issues and keep your valve working smoothly.
Tools and Materials You'll Need
Before you start the packing replacement process, make sure you have the right tools and materials on hand. Here's a list of what you'll typically need:
- A set of wrenches (the size will depend on your valve)
- A packing removal tool (this can be a simple flat - blade screwdriver in some cases)
- New packing material. Make sure it's suitable for use with oxygen. There are different types of packing available, such as graphite - based or PTFE (polytetrafluoroethylene) packing.
- A clean cloth for wiping down the valve parts
- Safety gear, including gloves and safety glasses
Step 1: Shut Down the System
Safety first! Before you start working on the valve, you need to shut down the oxygen supply to the system. This will prevent any oxygen from flowing through the valve while you're working on it. Locate the main shut - off valve for the oxygen supply and turn it off. It's also a good idea to relieve any pressure in the valve by opening it slightly and letting the remaining oxygen escape.
Step 2: Remove the Packing Gland
The packing gland is the part of the valve that holds the packing in place. Use your wrenches to loosen the nuts on the packing gland bolts. Once the nuts are loose, carefully remove the packing gland. You might need to tap it gently with a soft - faced hammer if it's stuck. Be careful not to damage the valve stem or the gland itself during this process.
Step 3: Remove the Old Packing
Now that the packing gland is off, you can remove the old packing. Use your packing removal tool to carefully pry out the old packing material from the packing chamber. Make sure you remove all of the old packing, including any small pieces that might be stuck in the corners. You can use the clean cloth to wipe down the packing chamber and remove any debris or dirt.
Step 4: Inspect the Valve Stem and Packing Chamber
While the packing is removed, take a moment to inspect the valve stem and the packing chamber. Look for any signs of wear, corrosion, or damage. If the valve stem is scratched or worn, it might need to be repaired or replaced. Similarly, if the packing chamber has any damage, it could affect the performance of the new packing. If you notice any significant issues, it's a good idea to consult a professional.
Step 5: Install the New Packing
Cut the new packing material into the appropriate length. You want the packing to fit snugly around the valve stem without being too tight or too loose. Start by placing the first ring of packing into the packing chamber, making sure it's centered around the valve stem. Use your fingers to press it down gently. Then, add additional rings of packing, one by one, until the packing chamber is filled. Make sure each ring is properly seated and there are no gaps between the rings.
Step 6: Reinstall the Packing Gland
Once the new packing is in place, carefully reinstall the packing gland. Line it up with the valve body and insert the bolts. Tighten the nuts on the bolts evenly. Don't over - tighten them, as this can damage the packing and cause it to leak. You want to apply just enough pressure to compress the packing and create a seal.
Step 7: Test the Valve
After you've reinstalled the packing gland, it's time to test the valve. Turn on the oxygen supply to the system and check for any leaks. You can do this by applying a soapy water solution to the valve connections and looking for bubbles. If you see bubbles, it means there's a leak, and you'll need to adjust the packing gland or check the packing installation.
Other Oxygen Valves You Might Be Interested In
As an Oxygen Gate Valve supplier, we also offer a range of other oxygen valves. For example, if you're looking for a valve that can control the flow of oxygen more precisely, you might want to check out our Oxygen Butterfly Valve. It's designed to provide smooth and efficient flow control.
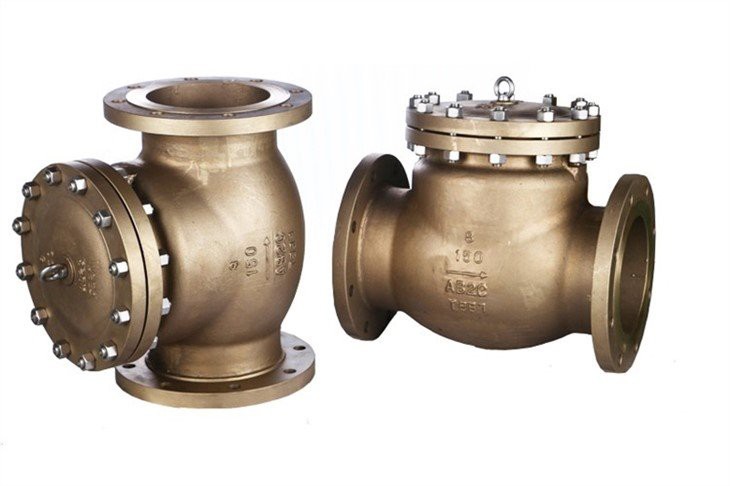
If you need a valve that prevents backflow of oxygen, our Oxygen Check Valve is a great option. It ensures that oxygen flows in only one direction, protecting your system from potential damage.
And for applications where you need a valve that can handle high - pressure oxygen, our Oxygen Ball Valve is a reliable choice. It offers excellent shut - off capabilities and durability.
Conclusion
Replacing the packing of an oxygen gate valve is a relatively straightforward process if you follow the right steps and take the necessary safety precautions. By doing it regularly, you can extend the life of your valve and ensure the safety of your oxygen system.

If you have any questions about oxygen gate valves or need help with packing replacement, feel free to reach out. We're here to assist you with all your oxygen valve needs. Whether you're looking to purchase a new valve or need advice on maintenance, we've got you covered. Contact us to start a discussion about your requirements and let's find the best solutions for your oxygen system.
References
- Valve Maintenance Handbook, various editions
- Oxygen Safety Guidelines from industry standards organizations